Drawers of Struggle
It all started with this video in which Josh Wright makes a cool cabinet that holds 16 tiny box-jointed drawers all from a single 2x6.
"Practice making boxes", they say to beginning woodworkers, so there's 17 boxes to practice on right there.
First things first, bring the barky anxious dog into the garage so she doesn't bark at you from inside the house all day.

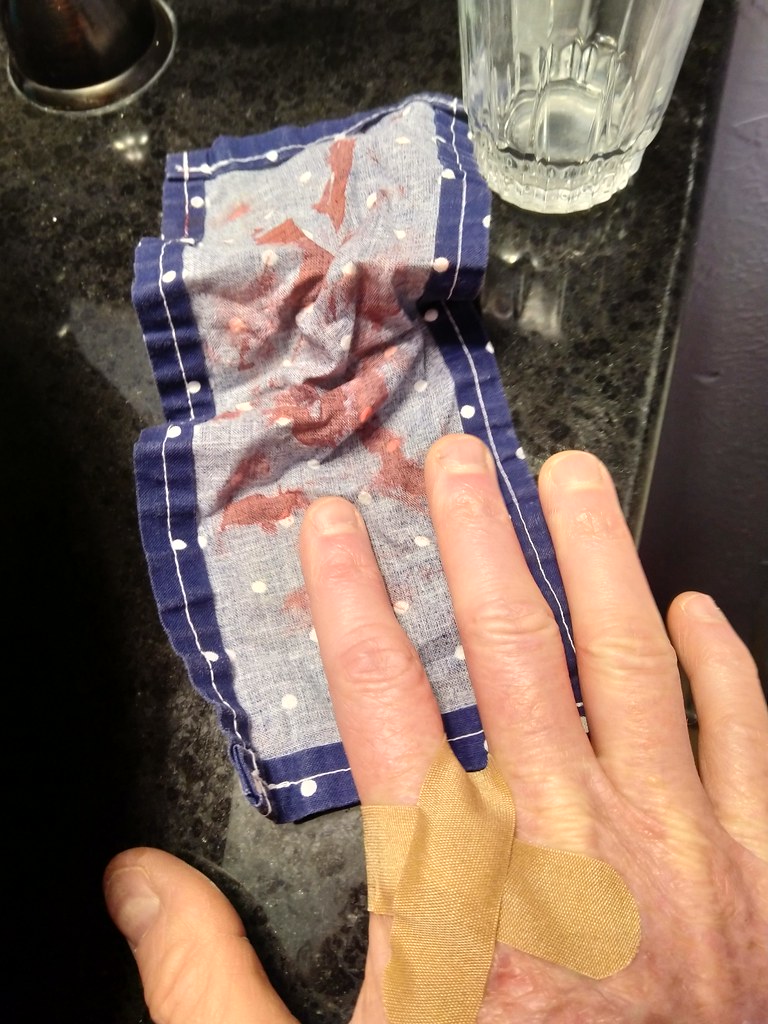
Second step, immediately draw blood. Banged my knuckle trying to get the damn riving knife up. Getting the "safety" gear going requires shoving your hand into a box full of sharp metal edges that is JUST a bit too small for an adult hand to actually fit inside. I don't recommend the craftsman riving knife mechanism. It is a PoS.
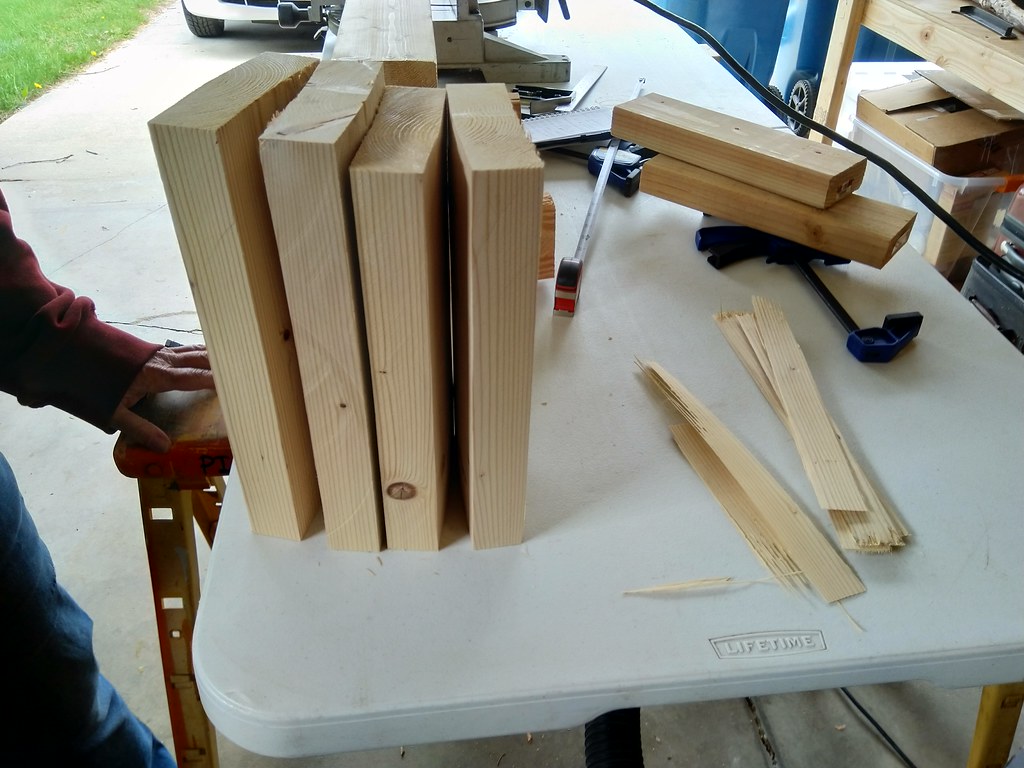
2x6 sections ripped to remove the roundover and chopped to length.
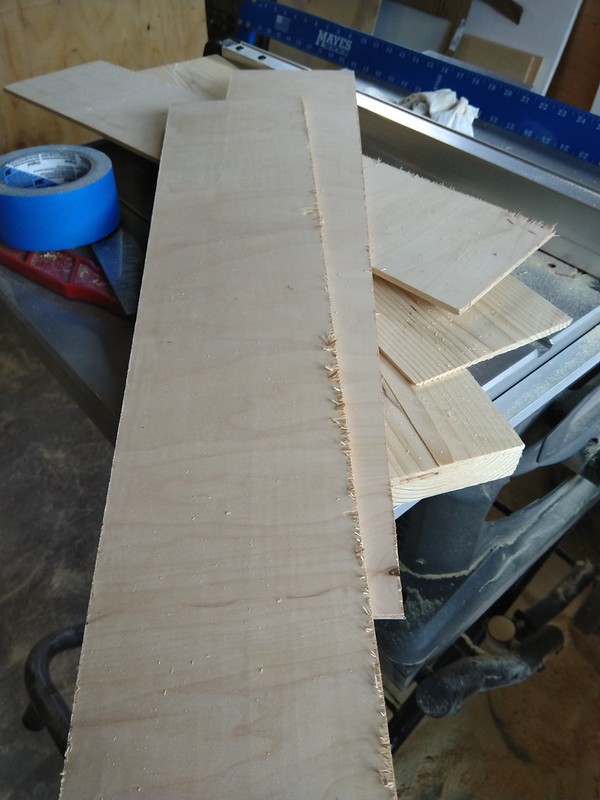
Resawed to 1/4" thick boards. Trying to resaw with the blade at max height while running the dust collection is enough to trip a circuit breaker in my garage shop. Also my table saw fence is very short and keeping a 2x6 consistently vertical while resawing is really hard. The boards were no where near uniform thickness. Next time a project calls for re-sawing something taller than the table saw blade, that's a hard no.
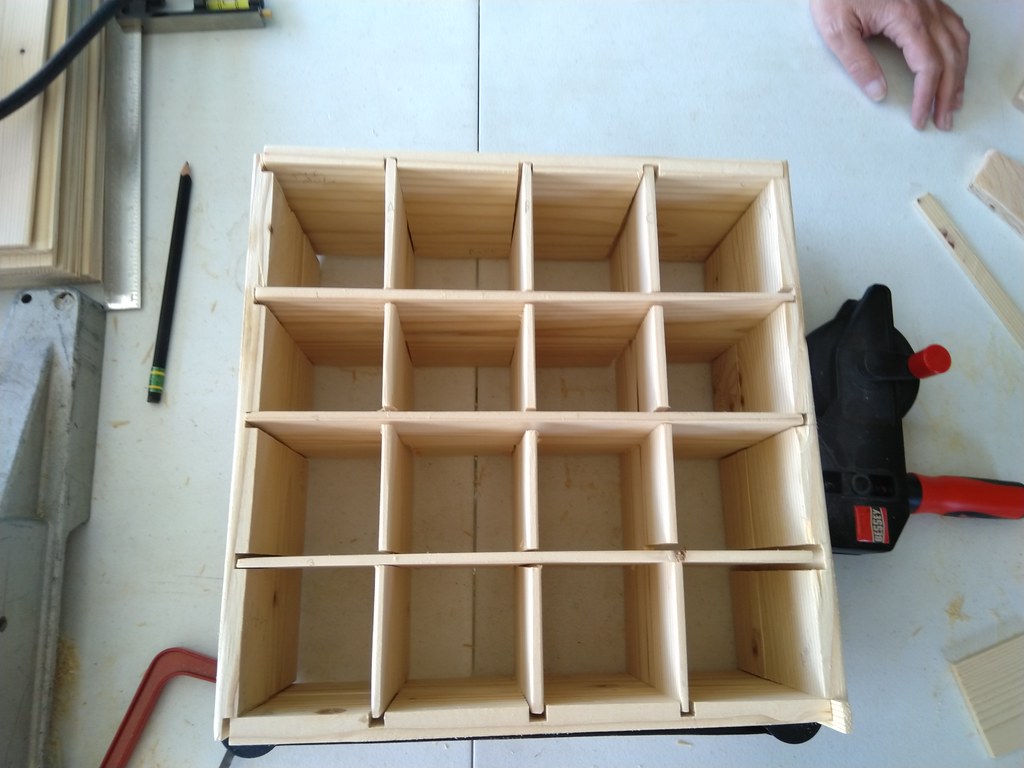
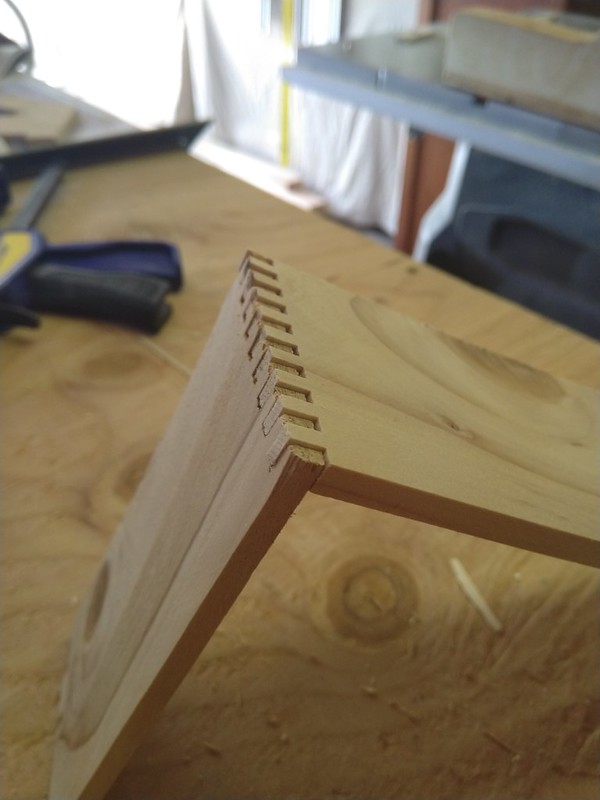
Here's the first attempt assembled for a dry fit. Had to shim the bottom right corner. In retrospect it doesn't look as terrible as I thought at the time. Note for later that we didn't have any drawers made yet at this stage.
Glue up in a strap clamp. I have no idea how people make boxes without one of these.
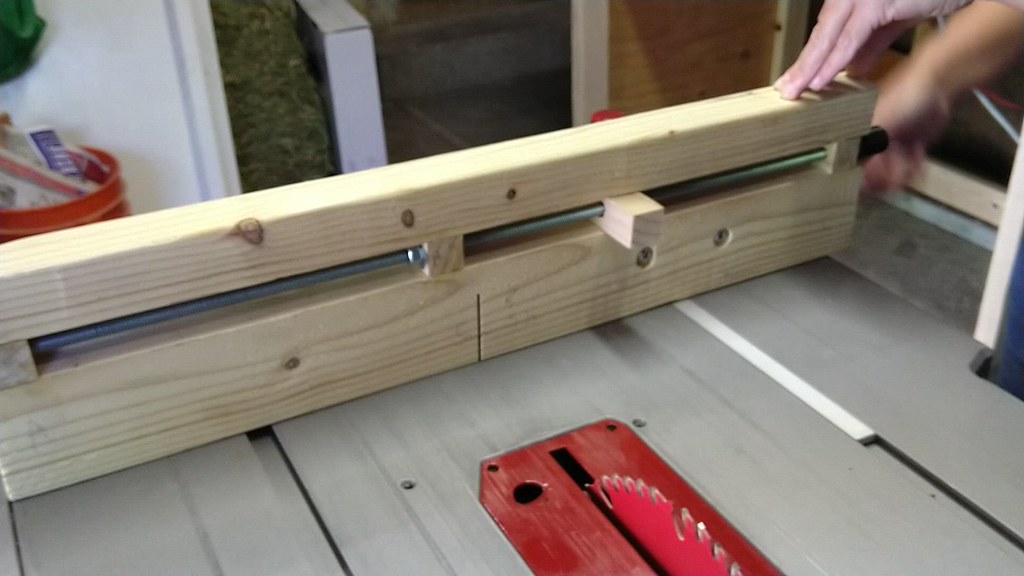
OK cabinet v1 is done. Time to build the drawers. First step, a quick finger joint jig. Josh Wright in his video says it "only took me 5 minutes to set up the jig". This was a real struggle. One challenge was my table saw insert plate just won't sit true and flush no matter how much I tweak the fine adjustment screws, so as the work piece moves right to left and hits the actual table, the left edge becomes elevated relative to the right edge (which is still on the insert plate) and screws up the joint gaps.

So we tried to simulate a "zero clearance insert" without actually building one. After a few attempts we realized we'd never be able to get usable results at this tiny 1-kerf size.
Thus began Subproject 1: Box Joint Crank Jig. We found another video about a fancy jig that could cut box joints of any size. Here's the "Make Things" video we followed:
So we spent a weekend making one of those. Here we're sanding the channel in the main piece.
Preparing for miter guage bolt holes.

We bought our first chisels and tried to clean up the bottom of the groove

Mechanism complete and mounted to the miter guage. We custom designed and 3D printed a crank handle.
Here it is working. The clicking sound is our terrible stock miter guage rail rattling back and forth in the miter slot.
Hmm, we can't have that. Time for Subproject 2: Convert the miter guage jig into a sled. We cut our own hardwood miter rails. Lots of videos of folks doing this easily on youtube, but getting a straight cut of exactly the right thickness was not at all easy and we spent a lot of time attempting this, sanding, buying a hand plane which we did not know how to assemble or use, etc.

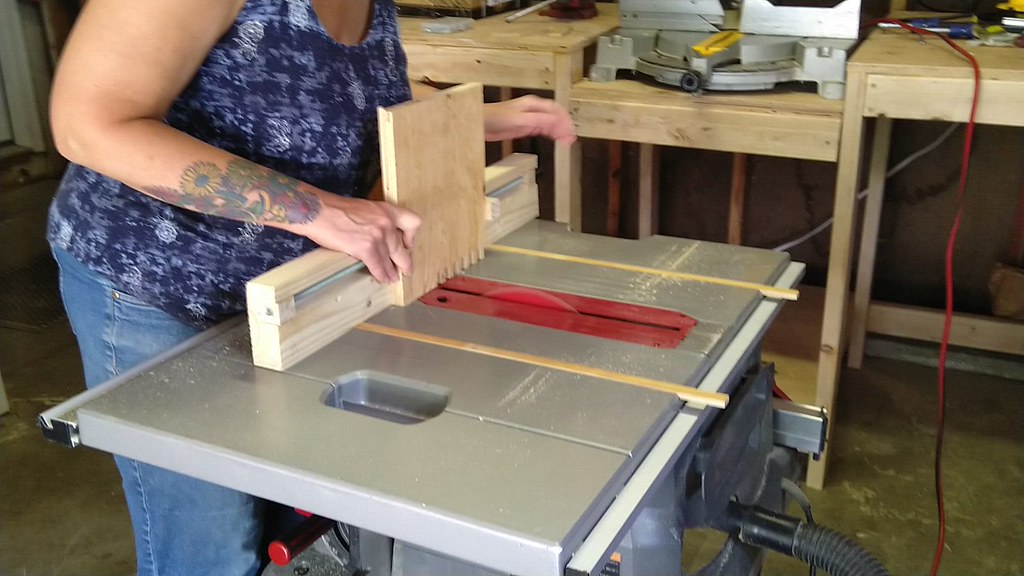
Here's the jig with rails in action cutting some wider fingers. But the action was still pretty sloppy and the jig itself is optimized for larger workpieces. Our tiny 2.5" square drawer fronts were too small to fit in the jig at all.
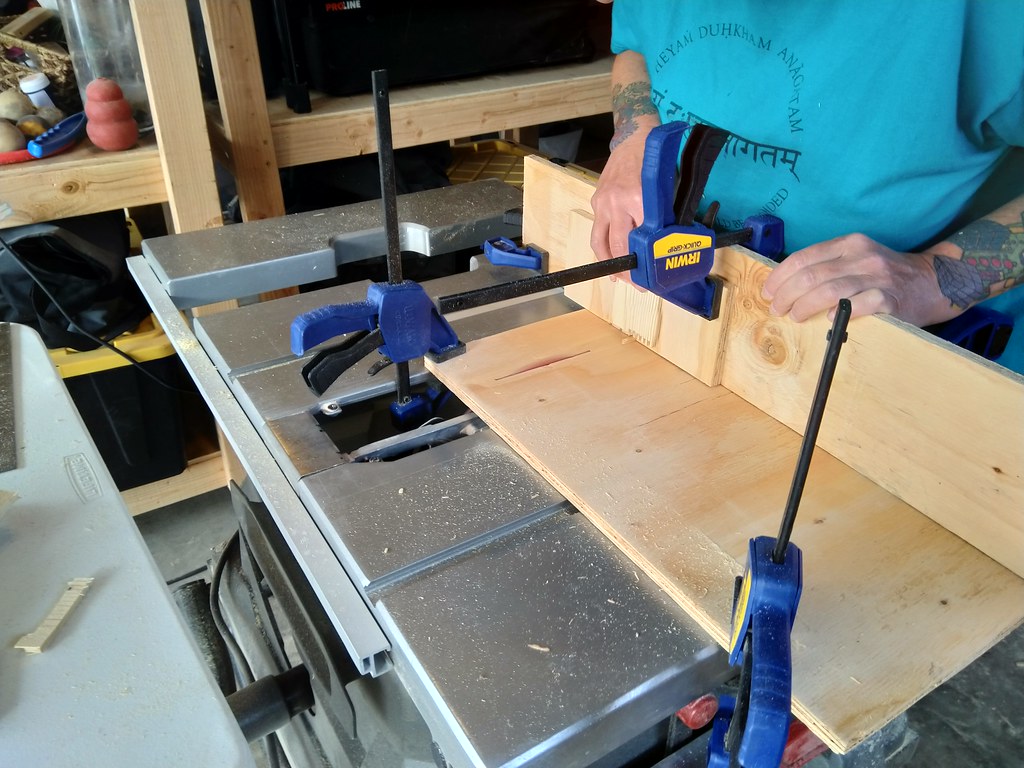
So it's time for Subproject 3: Make a small parts crosscut table saw sled. We watched a lot of youtube videos, most of which are making sleds with a lot of complex stuff like built-in clamps, T-track, stop blocks, tape measures, etc. We eventually found a fairly straightforward one we thought might be achievable. We made runners out of oak (our first wood other than fir). Here we are gluing the runners to the sled bottom.
Here's the King's Fine Woodworking video we followed:

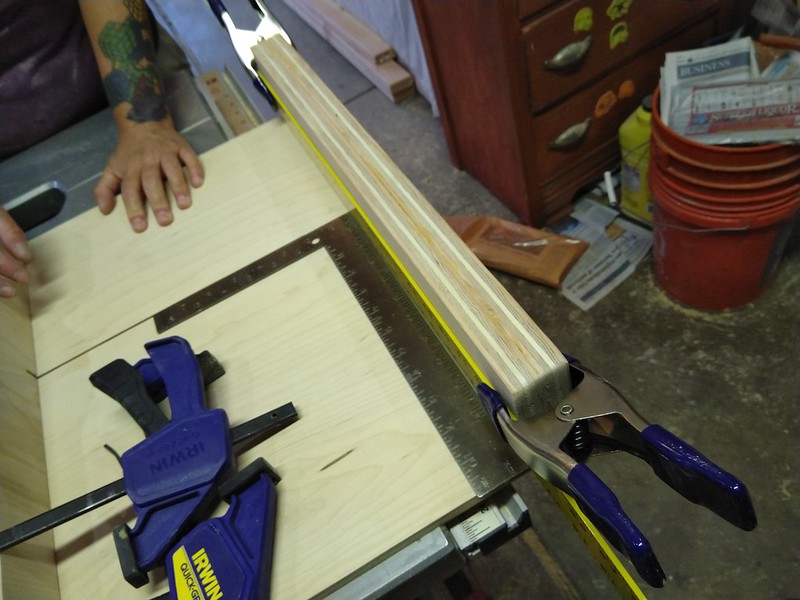
Sanding the runners to get an exact fit free from any wobble.
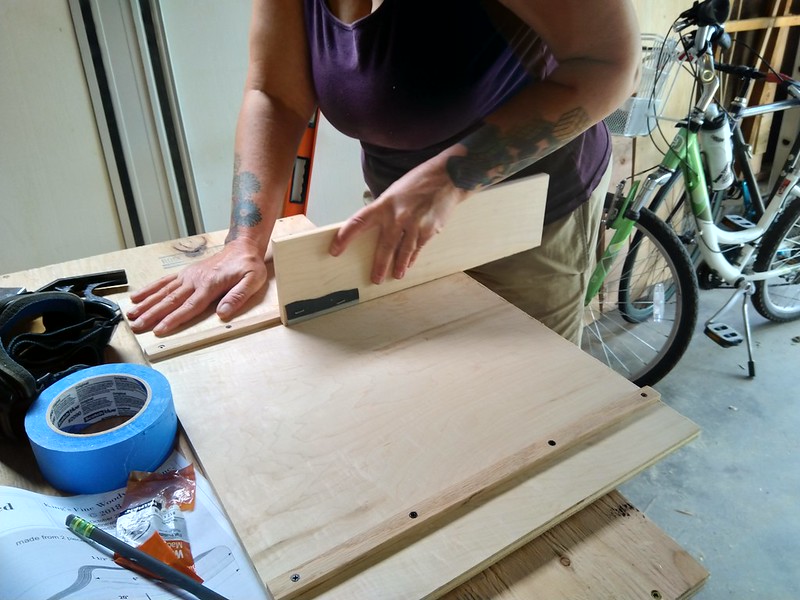
Aligning the back fence with the very simple square method. No 5-cut method for us this first time around.
Showing off the acrylic safety block viewing area. We still managed to cut a bit into the close wall of the safety block later when gang cutting a stack of boards.

Here's our Frankenstein hybrid half miter jig half sled. Better, but now the jig's miter rails prevent it from working on wide joints.

Much, much better tiny 1-kerf finger joints.
OK, so we abandoned the crank jig and now equipped with a sled went back to the traditional kerf-width pin jig. Cutting the pin exactly 1-kerf wide was really difficult. Josh Wright said it "only took him 5 minutes to set up the jig". We probably spent 3 hours cutting pins the wrong size, loosing them, snapping them, getting them just right but then loosing track of the good one in a stack of 20 attempts, etc. We eventually made a lumber run to get a thin board of oak in hopes it wouldn't snap as easily.

Tada! An assembled drawer getting glued up!

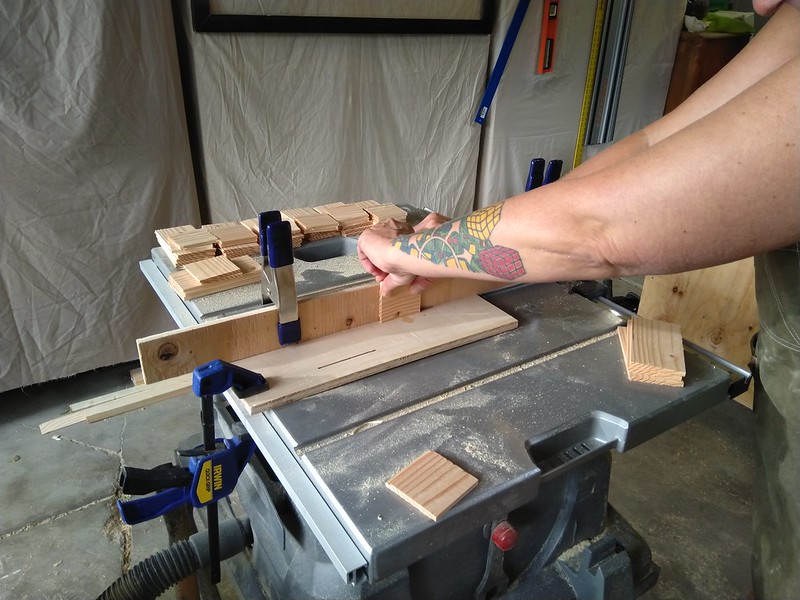
Now confident we had a good process, we went into production mode and prepared the boards to make a total of 16 drawers.

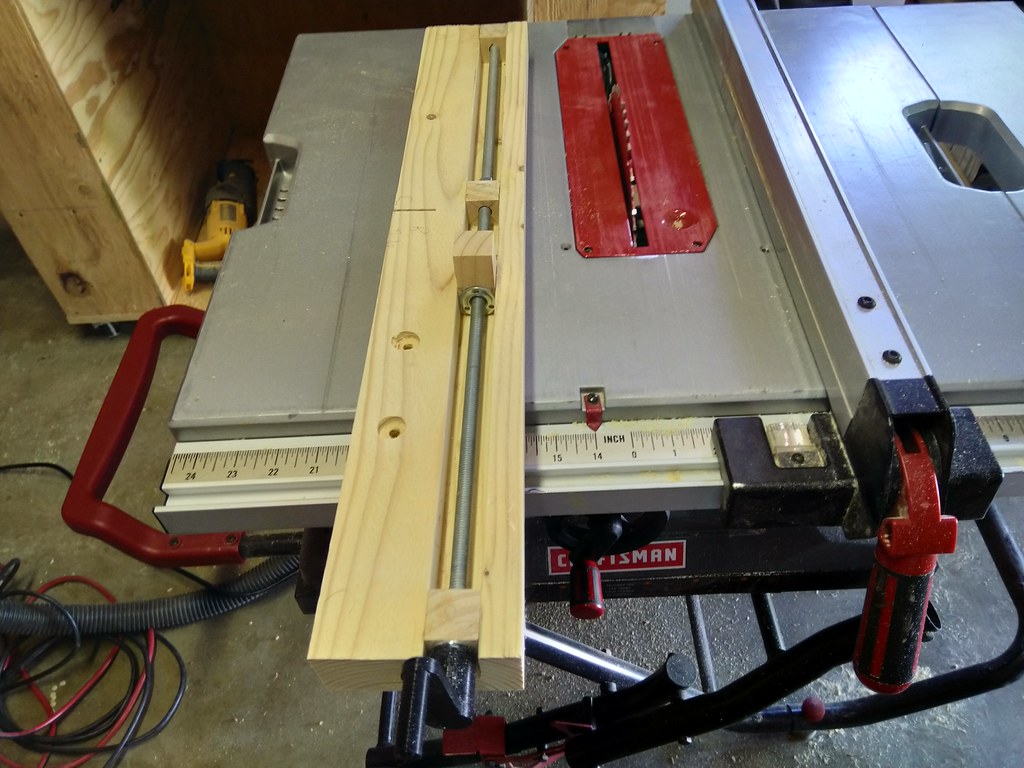
Here is our sacrificial table saw fence setup to cut the 1-kerf rabbet in the drawer sides to make a joint for the bottom. This part actually worked well the first time.
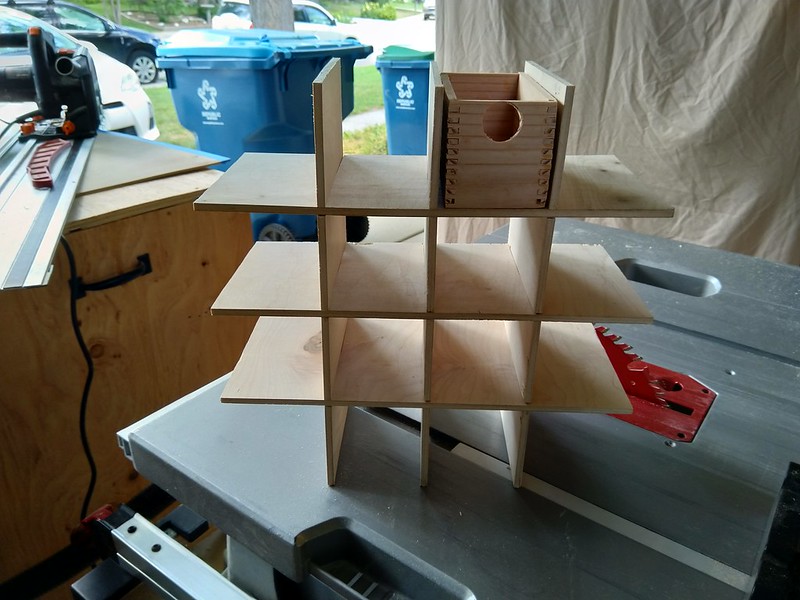
And now that we had 16 drawers, guess what we learned about the cabinet? The third row of shelves was maybe 1/8" too short and the drawers didn't fit! We gave up on resawing 2x6s at this point and decided to just buy 1/2" plywood for the walls and 1/4" plywood for the dividers. Here we are starting cabinet attempt 2.
Figuring out exactly where these slots go was super tricky. Josh Wright helpfully explained this as "evenly spaced", but once you factor in the width of the dividers themselves, and the rabbets, grooves, etc, it got very unclear. Because we have 10" worth of drawer to fit into an 11" cabinet interior, plus 3 dividers about 1/4" thick, there's very little margin of error remaining and it was really hard for us to make it work.
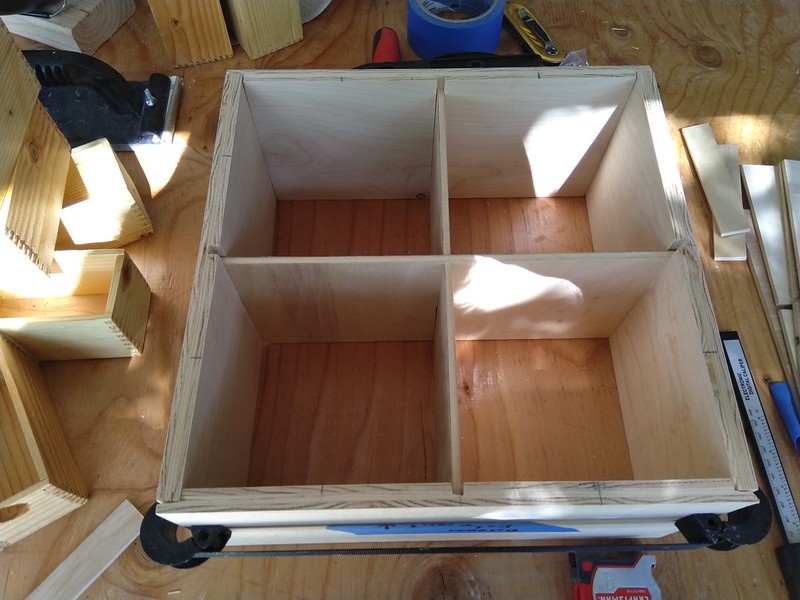
Divider set 2 out of 1/4" plywood instead of a resawn 2x6. The inner columns ended up being just a tiny bit narrower than the outer columns and the drawers again didn't fit.
Glue up of cabinet v2.

Got my first legit table saw kickback cutting the back to size. I forgot even though I didn't need a push stick because there was ample blade clearance, I still needed to account for pinching between the blade and the fence. Luckily I didn't get hurt as I was standing to the side properly.

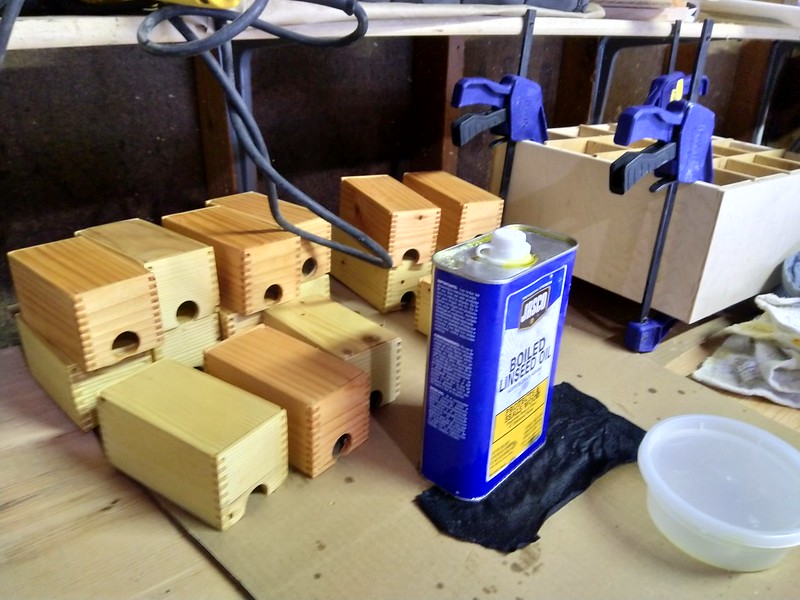
Oiled up the drawers with linseed oil.
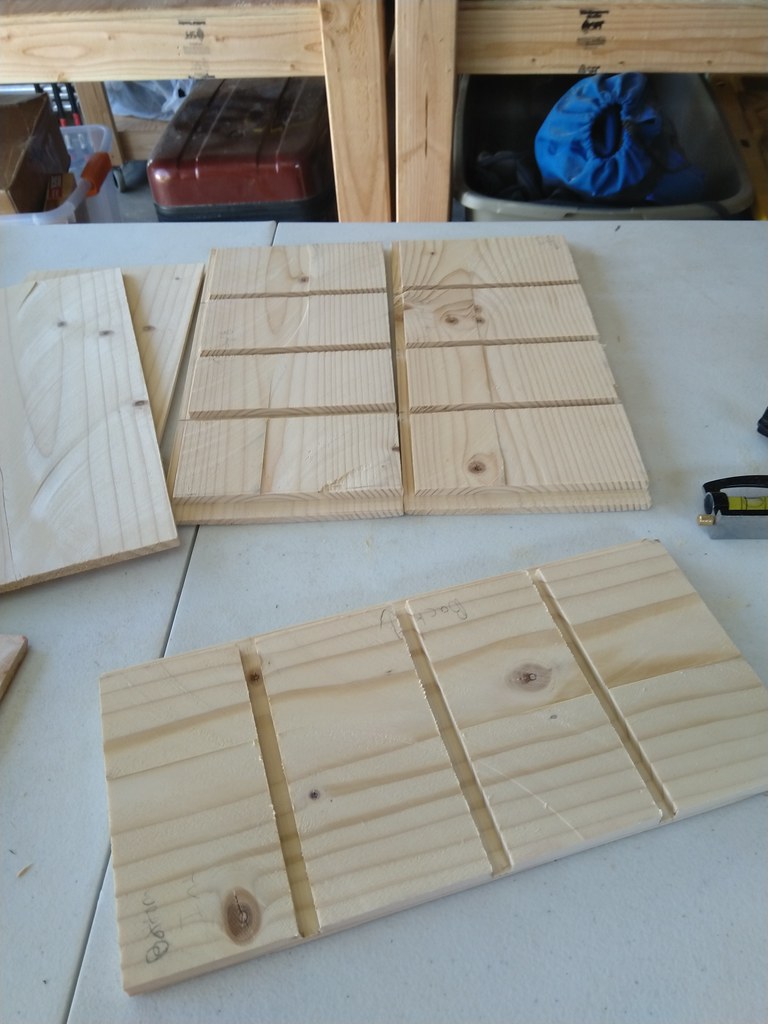
After a week off to rebuild motivation, we tried again to build the cabinet. Version 3 came together quickly but this time the top row was too short in one corner and not all the drawers would fit. We came up with a different strategy and decided to make a 4th attempt. I was only confident that the center dividers needed to go with the center of the divider groove at exactly the 6" spot on the cabinet. But where the other 4 dividers needed to go was still unclear so I cut the grooves for the center horizontal and vertical and installed and checked them with calipers. They weren't perfect but only varied by like 8/100". Then I used calipers to measure the interior size of the boxes created by the dividers, divided that in half, and used that measurement to mark where the center of the next groove needed to be. Then when I cut the groove, I basically did almost a full kerf on either side of the center line I had marked. That was enough to fit our plywood which was actually about 0.20" thick not true 1/4".
Smarter this time. Installed just the horizontal dividers and checked the drawers would fit all the way across. Did the same process with the vertical ones too before cutting the slots to grid the dividers together.

Positioned the remaining slots on the dividers by transferring from the cabinet and was able to get them all installed and drawers fit in all 16 spaces!
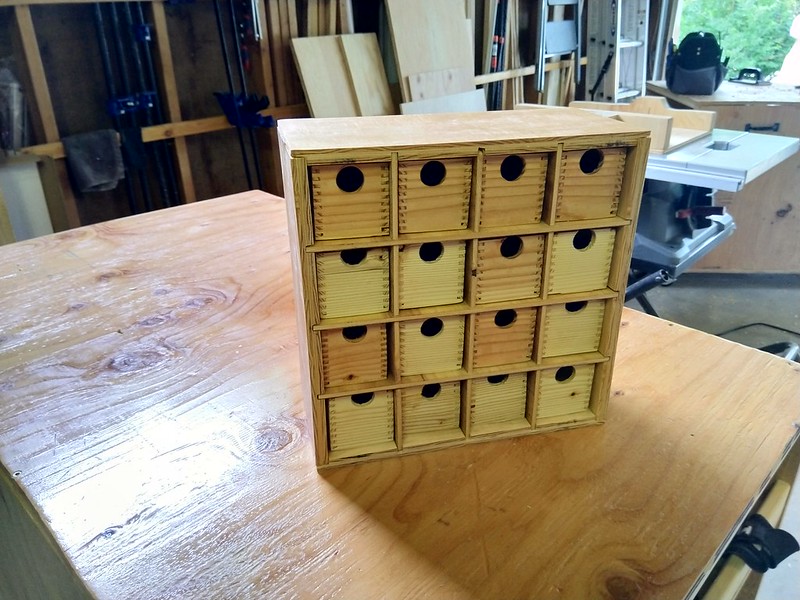
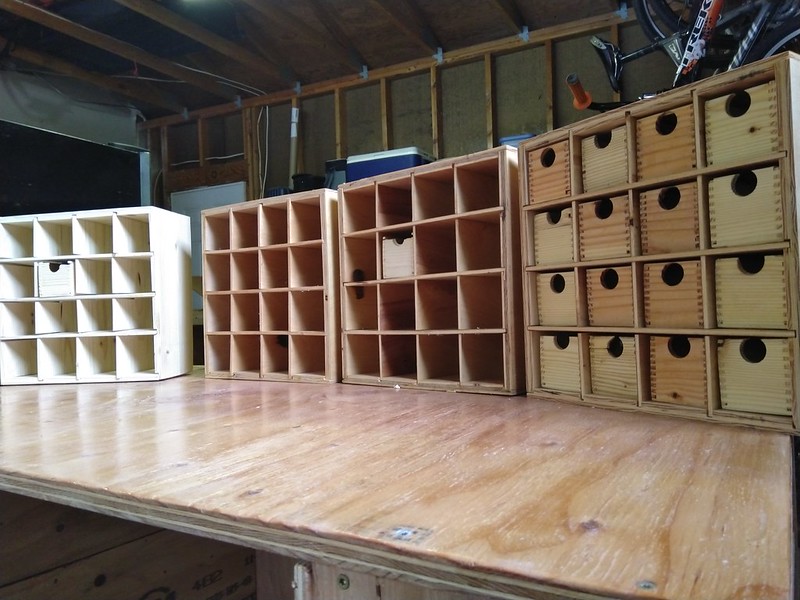
Finally done! The lighter drawers are from a resawn 2x6 and the darker ones are from a resawn 2x4.

The full set of attempts.