Drawers of Doom
I have this notion lodged in my brain. Most furniture is large, heavy, lacks handles, and thus is difficult to rearrange or move to another house. It usually requires 2 people to move and navigating stairs, doors, and vehicles are all a major pain. The whole thing is prone to injury from straining your back to banging your hand on a door frame to falling down stairs. And I have the idea of most of these issues being solved if we just made our furniture more modular and built it out of human-size components. And beyond that, it seems like you could get pretty far in terms of cabinets, shelving, storage, couches, benches, beds by designing around a cube no bigger than a microwave oven and connecting those together like Lego bricks.
So when I came across a Jer Woodshop youtube video building shop modular shop cabinets, I was fascinated. Here's the main build video:
and here's the "nerd-out" video where he talks through the reasoning behind most of the design decisions, dimensions, and how the design evolved over multiple rounds of building these.
So just based on interest in this type of design and wanting to learn from this build, I added this to my project list.
The plan was to use my long vacation around Christmas to build these. Oh my sweet summer child.
The "plan"
Work was super taxing in Q4 of 2025 so there wasn't really any spare brainpower available to "plan" anything. But for what it's worth, most of my woodworking projects to date involved no more than say 3 sessions of actual construction followed by sometimes sanding and finishing. So I didn't even really consider the fact that 2 full weeks off work might not be enough time to build 5 cabinets and 13 drawers. But that's what ended up happening.
My history with drawers from which I learned nothing
Avid readers of this blog may recall Drawers of Struggle. Just kidding. This blog has no readers LOL.
Anyway, we have tried building multiple small apothecary cabinets with tiny drawers. It did not go well. They did not fit. There was much struggle.
I should have brought that to mind when choosing this project, but alas I did not.
Purchasing plywood
Mostly out of curiosity, I decided to try a real lumber yard instead of a big box store this time. So I got 2 sheets of 3/4" plywood for the cabinets and 2 5'x5' sheets of 3/8" baltic birch for the drawers. The experience at the lumber yard was terrible for a hobbyist. Nothing is really labeled. There are absolutely no prices. There's not much light. It's set up for contractors that know exactly what they need and want huge quantities loaded onto flatbed trucks. But we got some wood without really knowing what it was or how much it would cost before we bought it.
Cabinets, holes, slots
The main cabinet bodies were done on the table saw and mostly went fine.
Each cabinet needed a lot of holes for the modular interconnecting bolts. Each hole needed a pilot, a bolt hole, and a counterbore. All together this was 630 drill press operations. I made a spreadsheet to determine that. I didn't really figure things like "we will be standing at the drill press for something like 6 straight hours doing this". Nor things like "the drill press will break and we will have to repair it to continue."
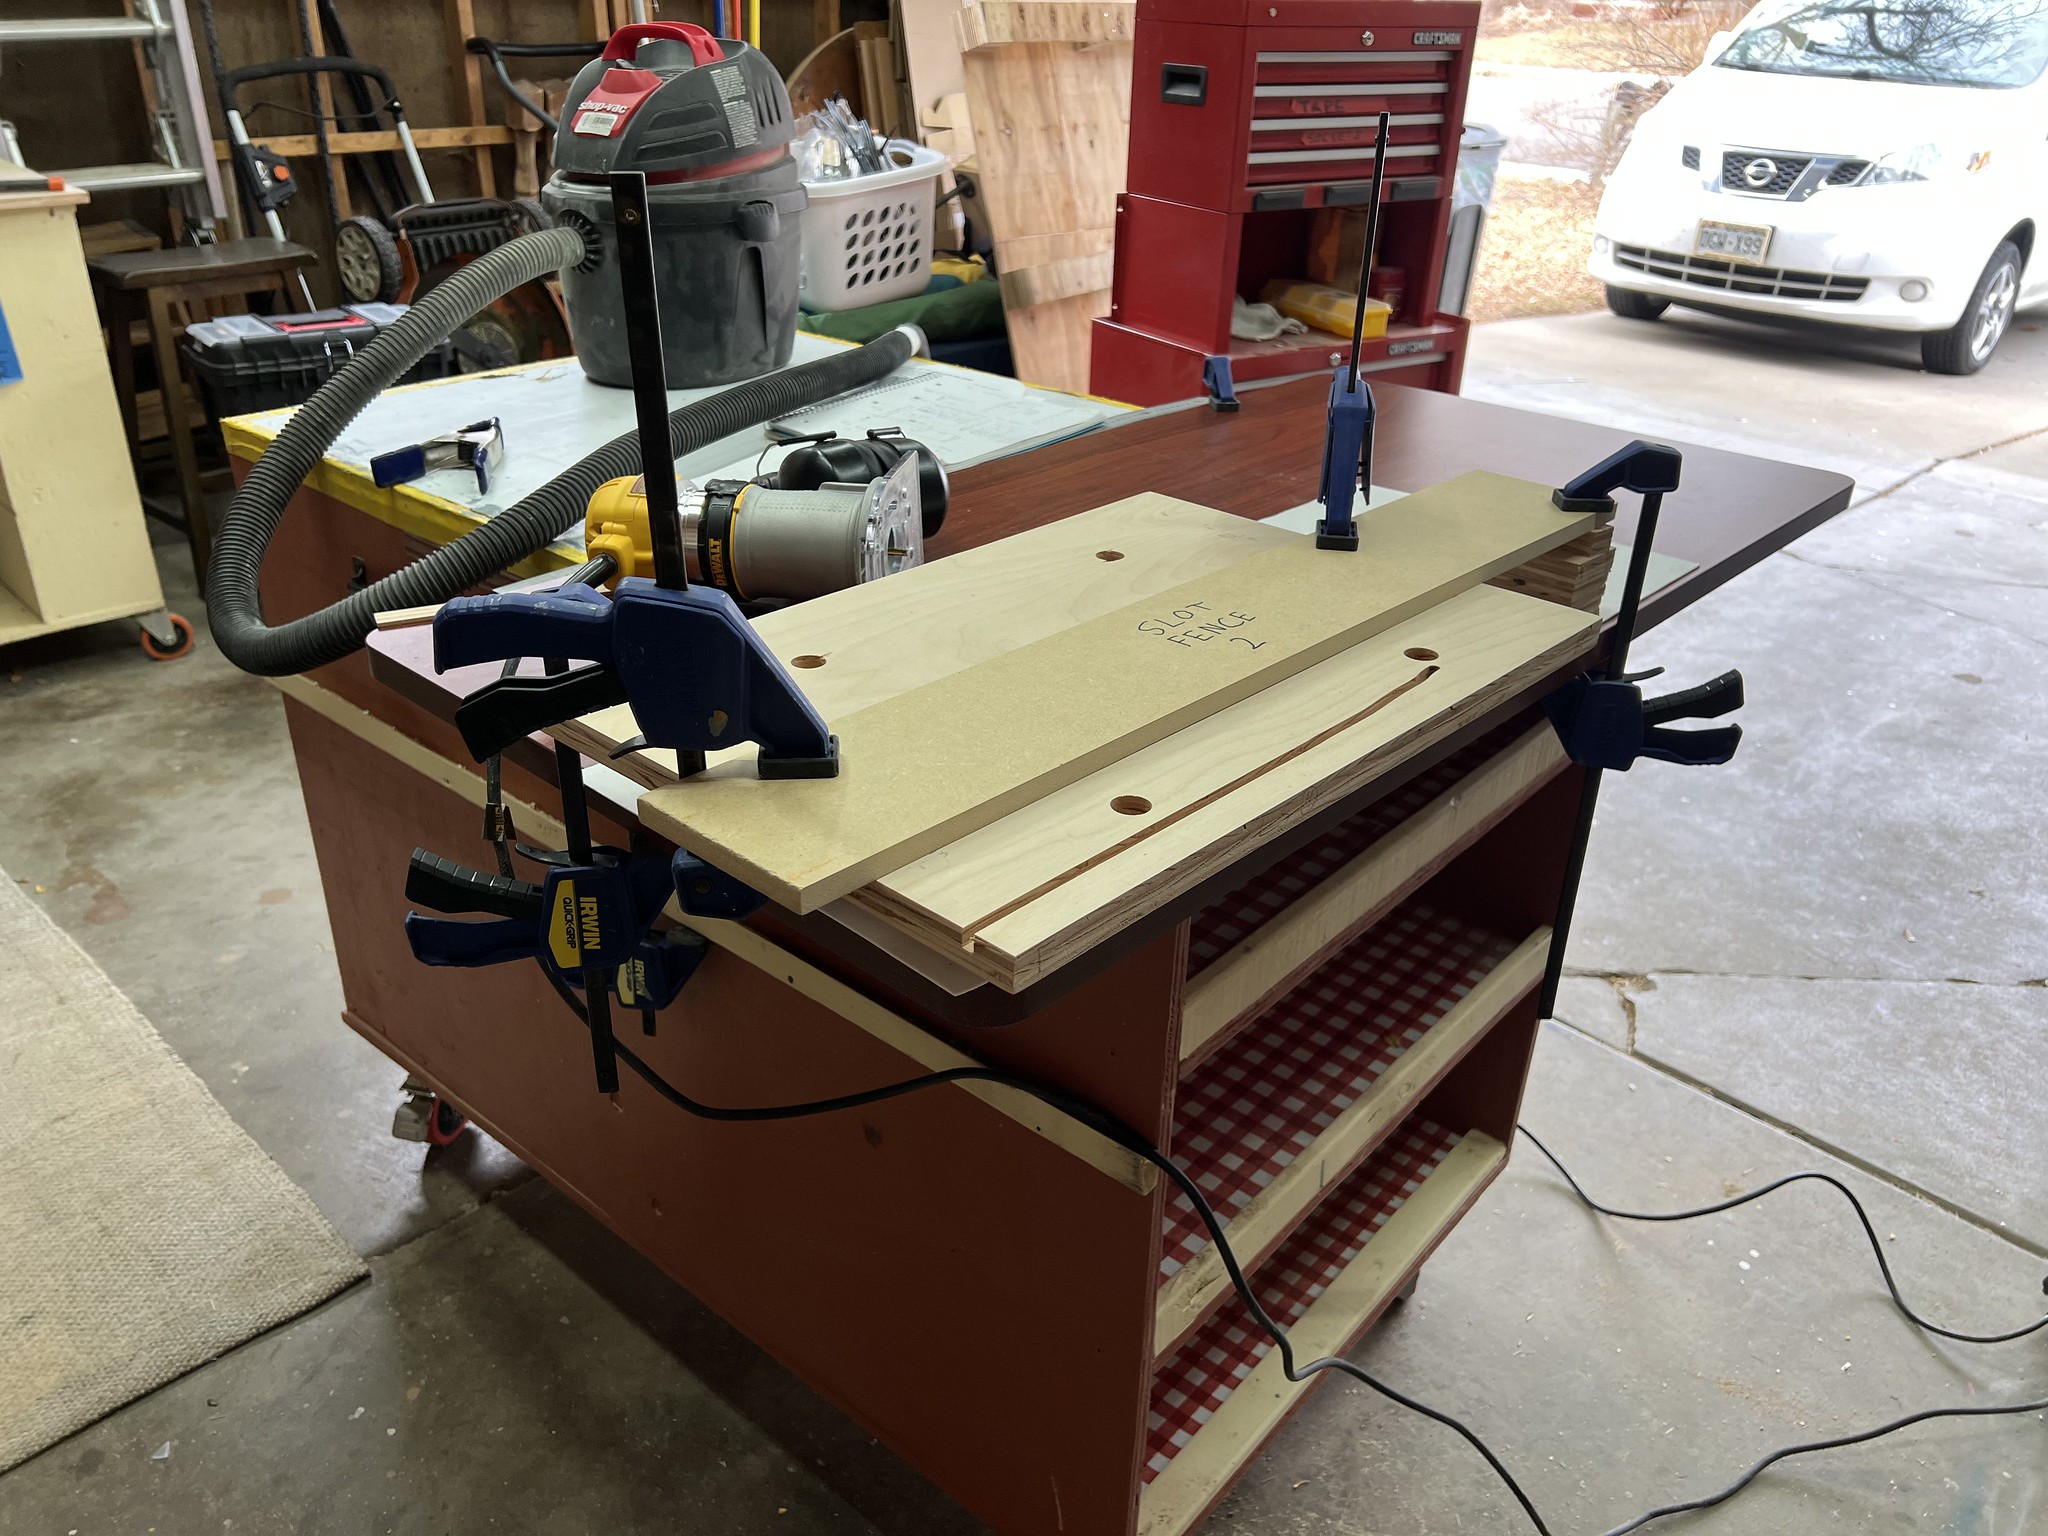
The slots were the main difficulty for the cabinets. The video presented 2 methods: table saw dado stack or palm router with lots of clamping of a straight edge. I really wanted to do the dado method, but my maker space sawstop lacked both a special dado brake cartridge and a throat plate for a dado stack. We wasted a bit of time and money chasing after that before finally giving up and cutting the slots with a router.
This was tons of precise measuring and marking. Setting up the workpiece and clamps was convoluted and error prone. It took forever and was really easy to make mistakes. Easy to wander off the fence. Easy to get the bit depth wrong, etc.
If I make any more of these, I will cut the top and bottom of each slot on the regular table saw blade for sure. Then I'll probably hog out the remainder with a palm router.
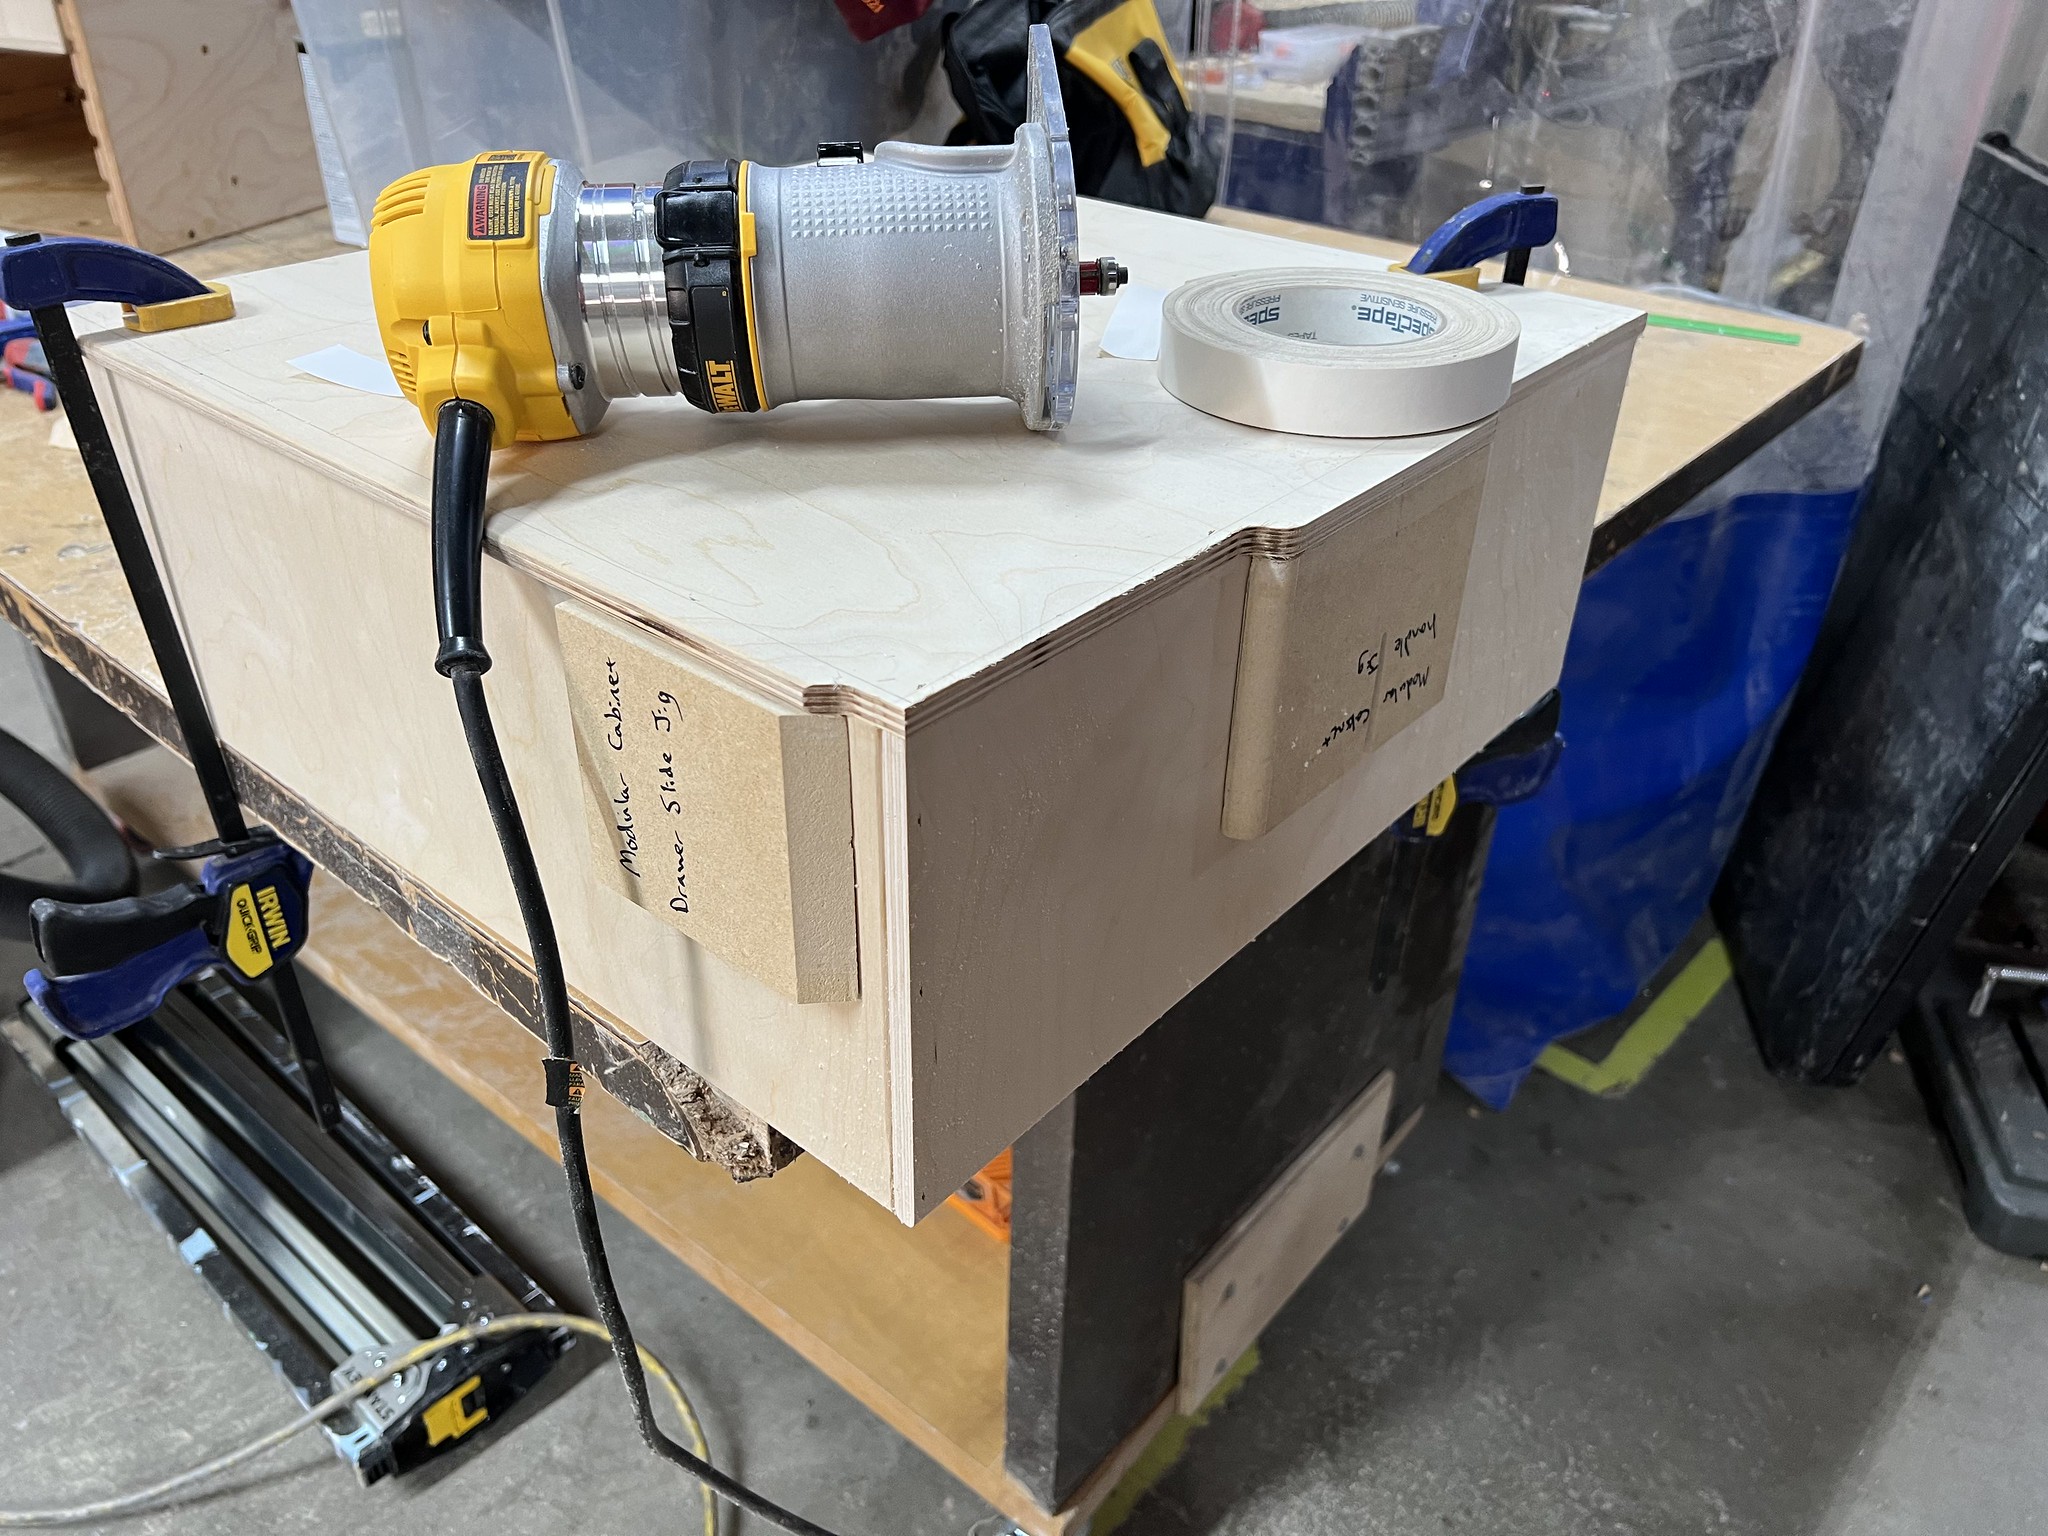
Drawer jig
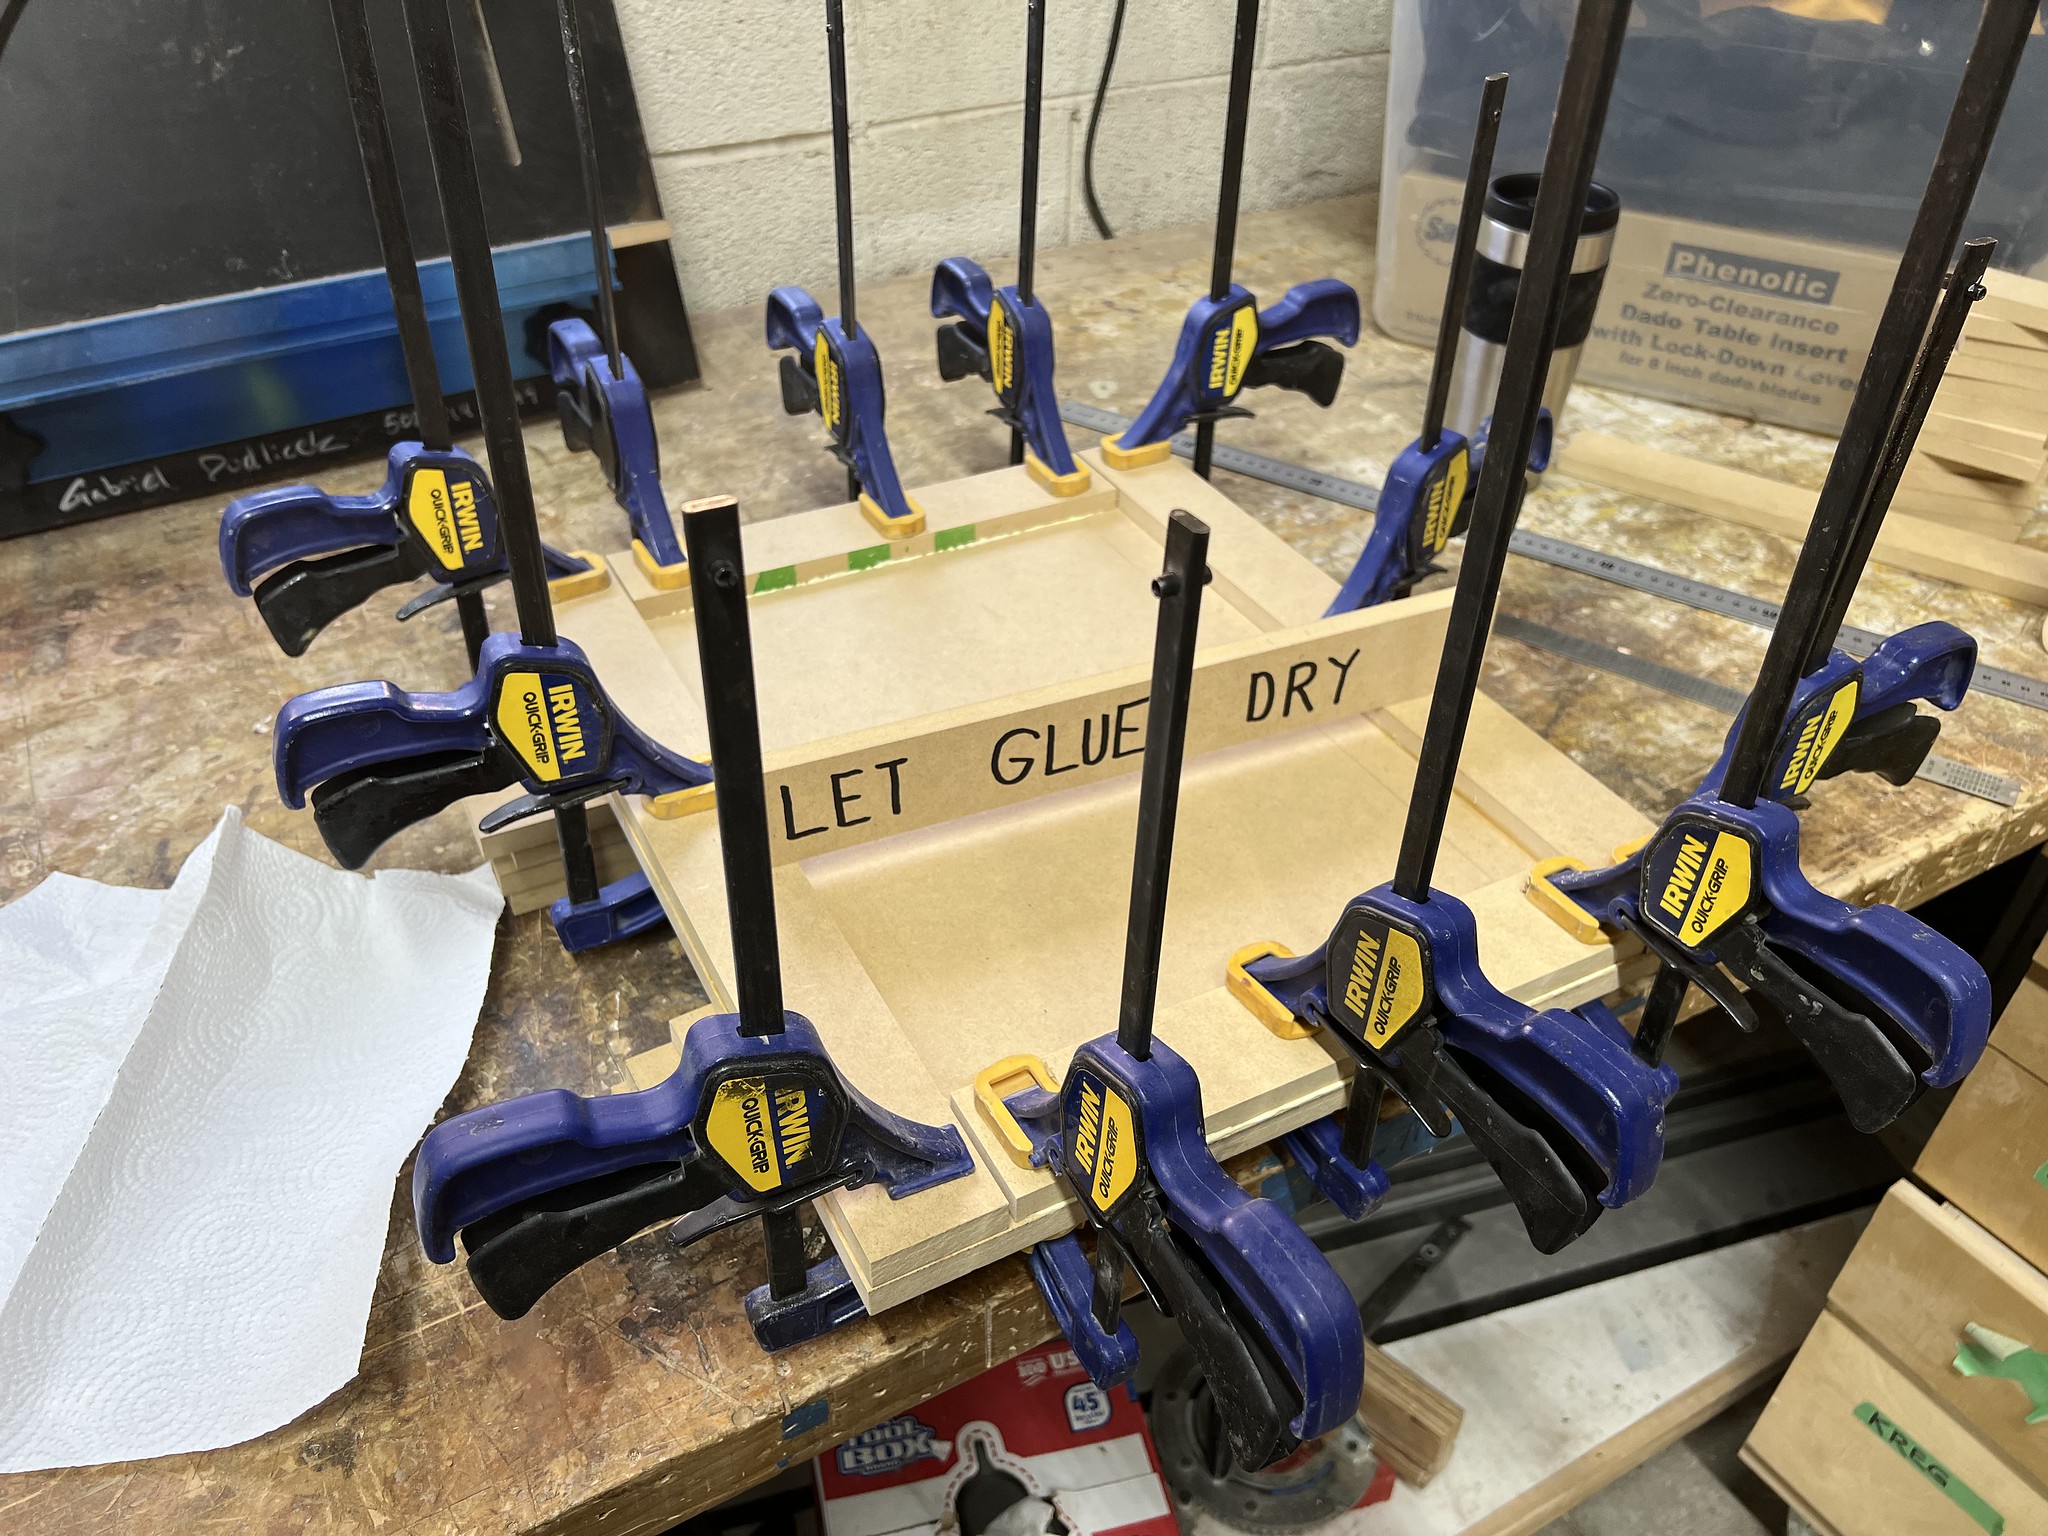
The plans and video build the drawers with use of a large jig. So I made that and it mostly worked fine. But the drawer construction process is difficult. In the video, he keeps re-orienting the drawer in a vise. My first drawer failed and I suspect the reason was the clamps holding the jig in place on the bottom moved slightly during these re-vising and the walls were off square and thus the drawer would not fit in the cabinet. I eventually repaired it by sawing off one of the back corners, but from then on we kept our jig on saw horses in the normal orientation and dealt with brad nails by me lying on my back and firing them in from below.
The brad nails had a very high rate of poking out the side. The process we had was a recipe for failure. Having the gigantic construction nail gun instead of a smaller brad nailer means if the back of the gun, which is like 18" from the tip, is 1/8" off to the side, the nail is going to poke through the side of the material.
Note sure what I would do if I build more of these. Honestly just "leave each drawer in the clamps for 2 hours until the glue is mostly cured and skip the brad nails altogether" seems appealing relative to the brad nail struggle.
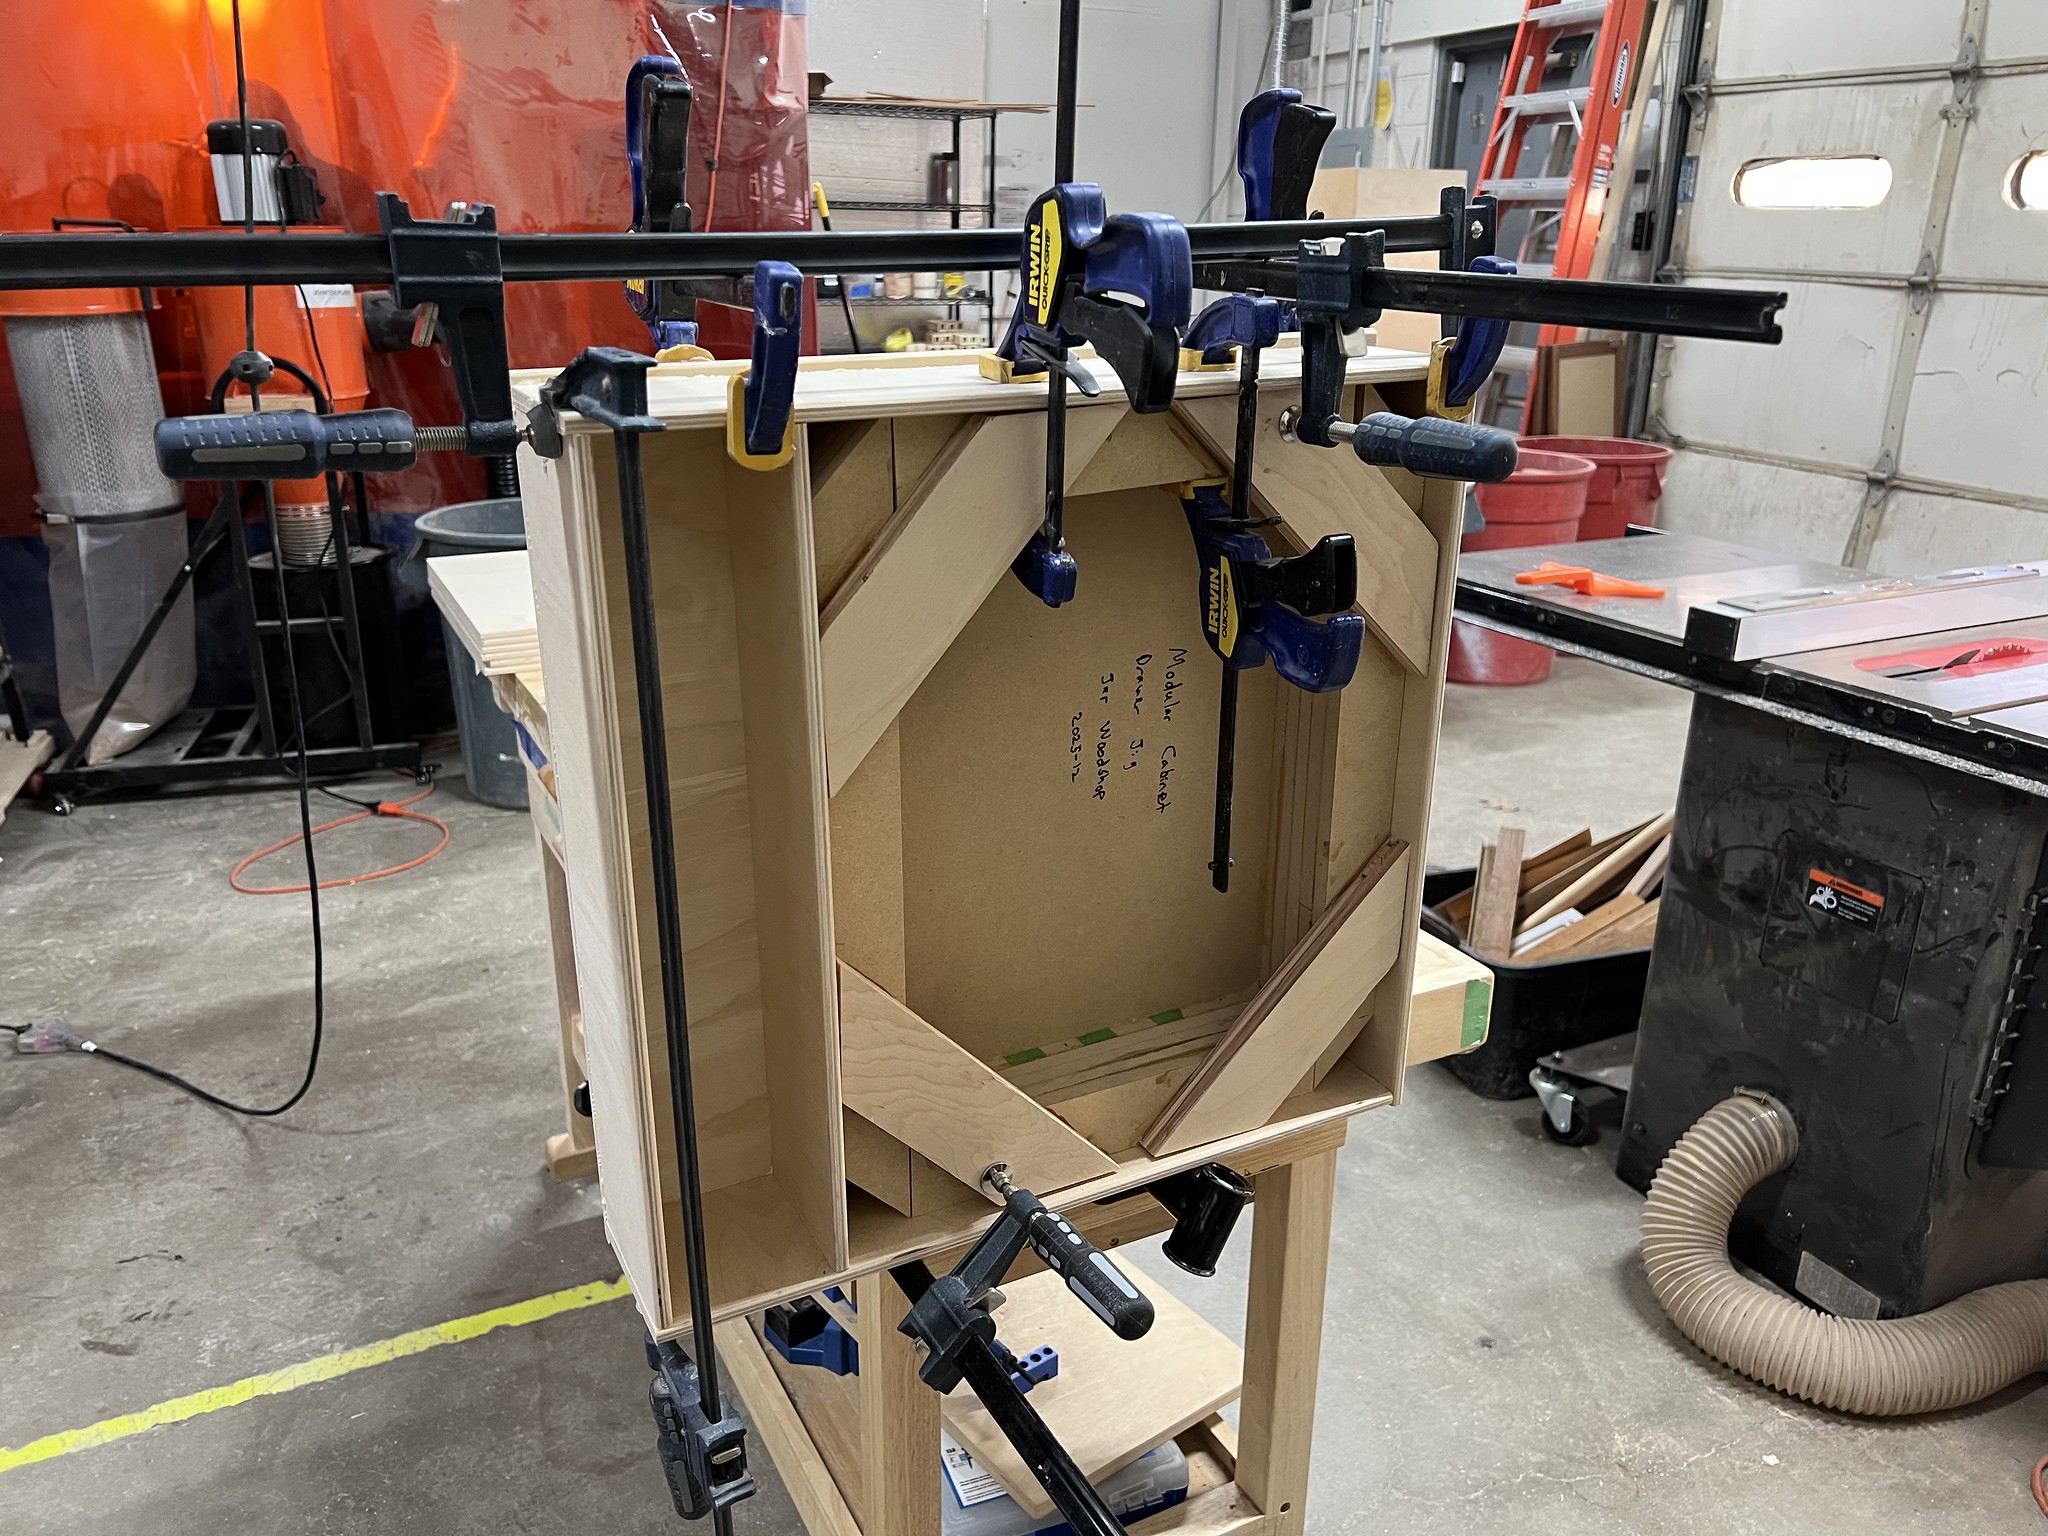
Cabinet assembly minus executive function
By the time we were ready for cabinet dry assembly with alignment and screws, followed by dissassembly and re-assembly with glue+screws, I think we only got 1 cabinet done before I had to go back to work. That meant the remainder had to be done on the cognitive fumes remaining after work. And thus there was a lot of putting things in upside down, gluing the wrong part at the wrong time, swapping parts between cabinets after we had already made screw holes that were no longer interchangeable, etc. There was a lot of fixing and a little of just living with the mistakes, but in the end all 5 cabinets are mostly functional.
Good project to do in a maker space?
Hell no! We loaded and unloaded hundreds of pounds of materials and tools between our van and the maker space at least a dozen times. It was completely foolish to try to build 5 big cabinets and 13 drawers as a single project toting stuff back and forth. Luckily this was during our winter warm spell so the temperatures were warm but still this was far beyond reasonable.
But you saved money on expensive drawer slides, right?
Ha ha, no. You can get a steel tool chest at the hardware store for $500. The materials for this project cost well more than that.
List of things that were hard and/or slow
- all the metric measuring for the drill holes.
- We did make a template but it's still a lot
- maker space only had 1 or 2 measuring tools with the metric system
- all the drill presses took forever
- the drawer assembly mechanism with the jig and brads was extremely awkward and difficult. Would not do again.
- maker space didn't have dado throat plate or brake cartridge
- maker space palm sanders were ruined by members sanding with the hook and loop directly multiple times
- maker space sanding discs are a huge disorganized mess
- maker space was generally crowded over the holidays and this project being gigantic did not help
- maker space flush trim router bit was broken
- someone left the maker space miter saw at like 85 degrees and I didn't notice until I had cut a huge batch of drawer walls.
- this didn't end up really being an actual problem, but kind of a dick move to leave it like that if you ask me, even admitting it's my responsibility to confirm. But like, leave it at 60 or something more obvious.
Assorted other mistakes we made not previously mentioned
- chewed up one of the drawer fronts with some errant pull saw work
- installed one of the cabinet back panels upside down
Some things I learned
- need to reduce router speed when using the small-radius roundover bits or they burn immediately
- If we had used a center punch, we could have let the drill press guide the bit into the hole instead of trying to eyeball the alignment hundreds of times
- Workbench setup, clamp setup, body & tool positioning are everything. If I have exactly the same setup as on youtube, I'm alright. But if I don't and I need to invent my own, it's going to be a disaster. So much holding work by hand, cantilevering, work moving while being cut, etc.
- I got a lot more practice changing router bits and dealing with the collet wrench contortion.
- When marking some of the layout lines, using a combo square like Jer does on the video would have been much faster. Instead I was measing 2 points and connecting with a ruler.
- I had no idea initially how to set my router bit to a specific prescribed depth. After a bunch of futzing with test cuts, I learned to mark a piece of scrap which I can then lay against the base and match the line
- Adding small roundovers to all the edges is really nice. I got a set of bits from 2/16 to 5/16 for this project and will use them a lot. It's easy to do and makes a big difference in look and feel.
- If all the extra tools you need to bring to the maker space do not fit in a single extra large plastic tote, maybe reconsider doing said project
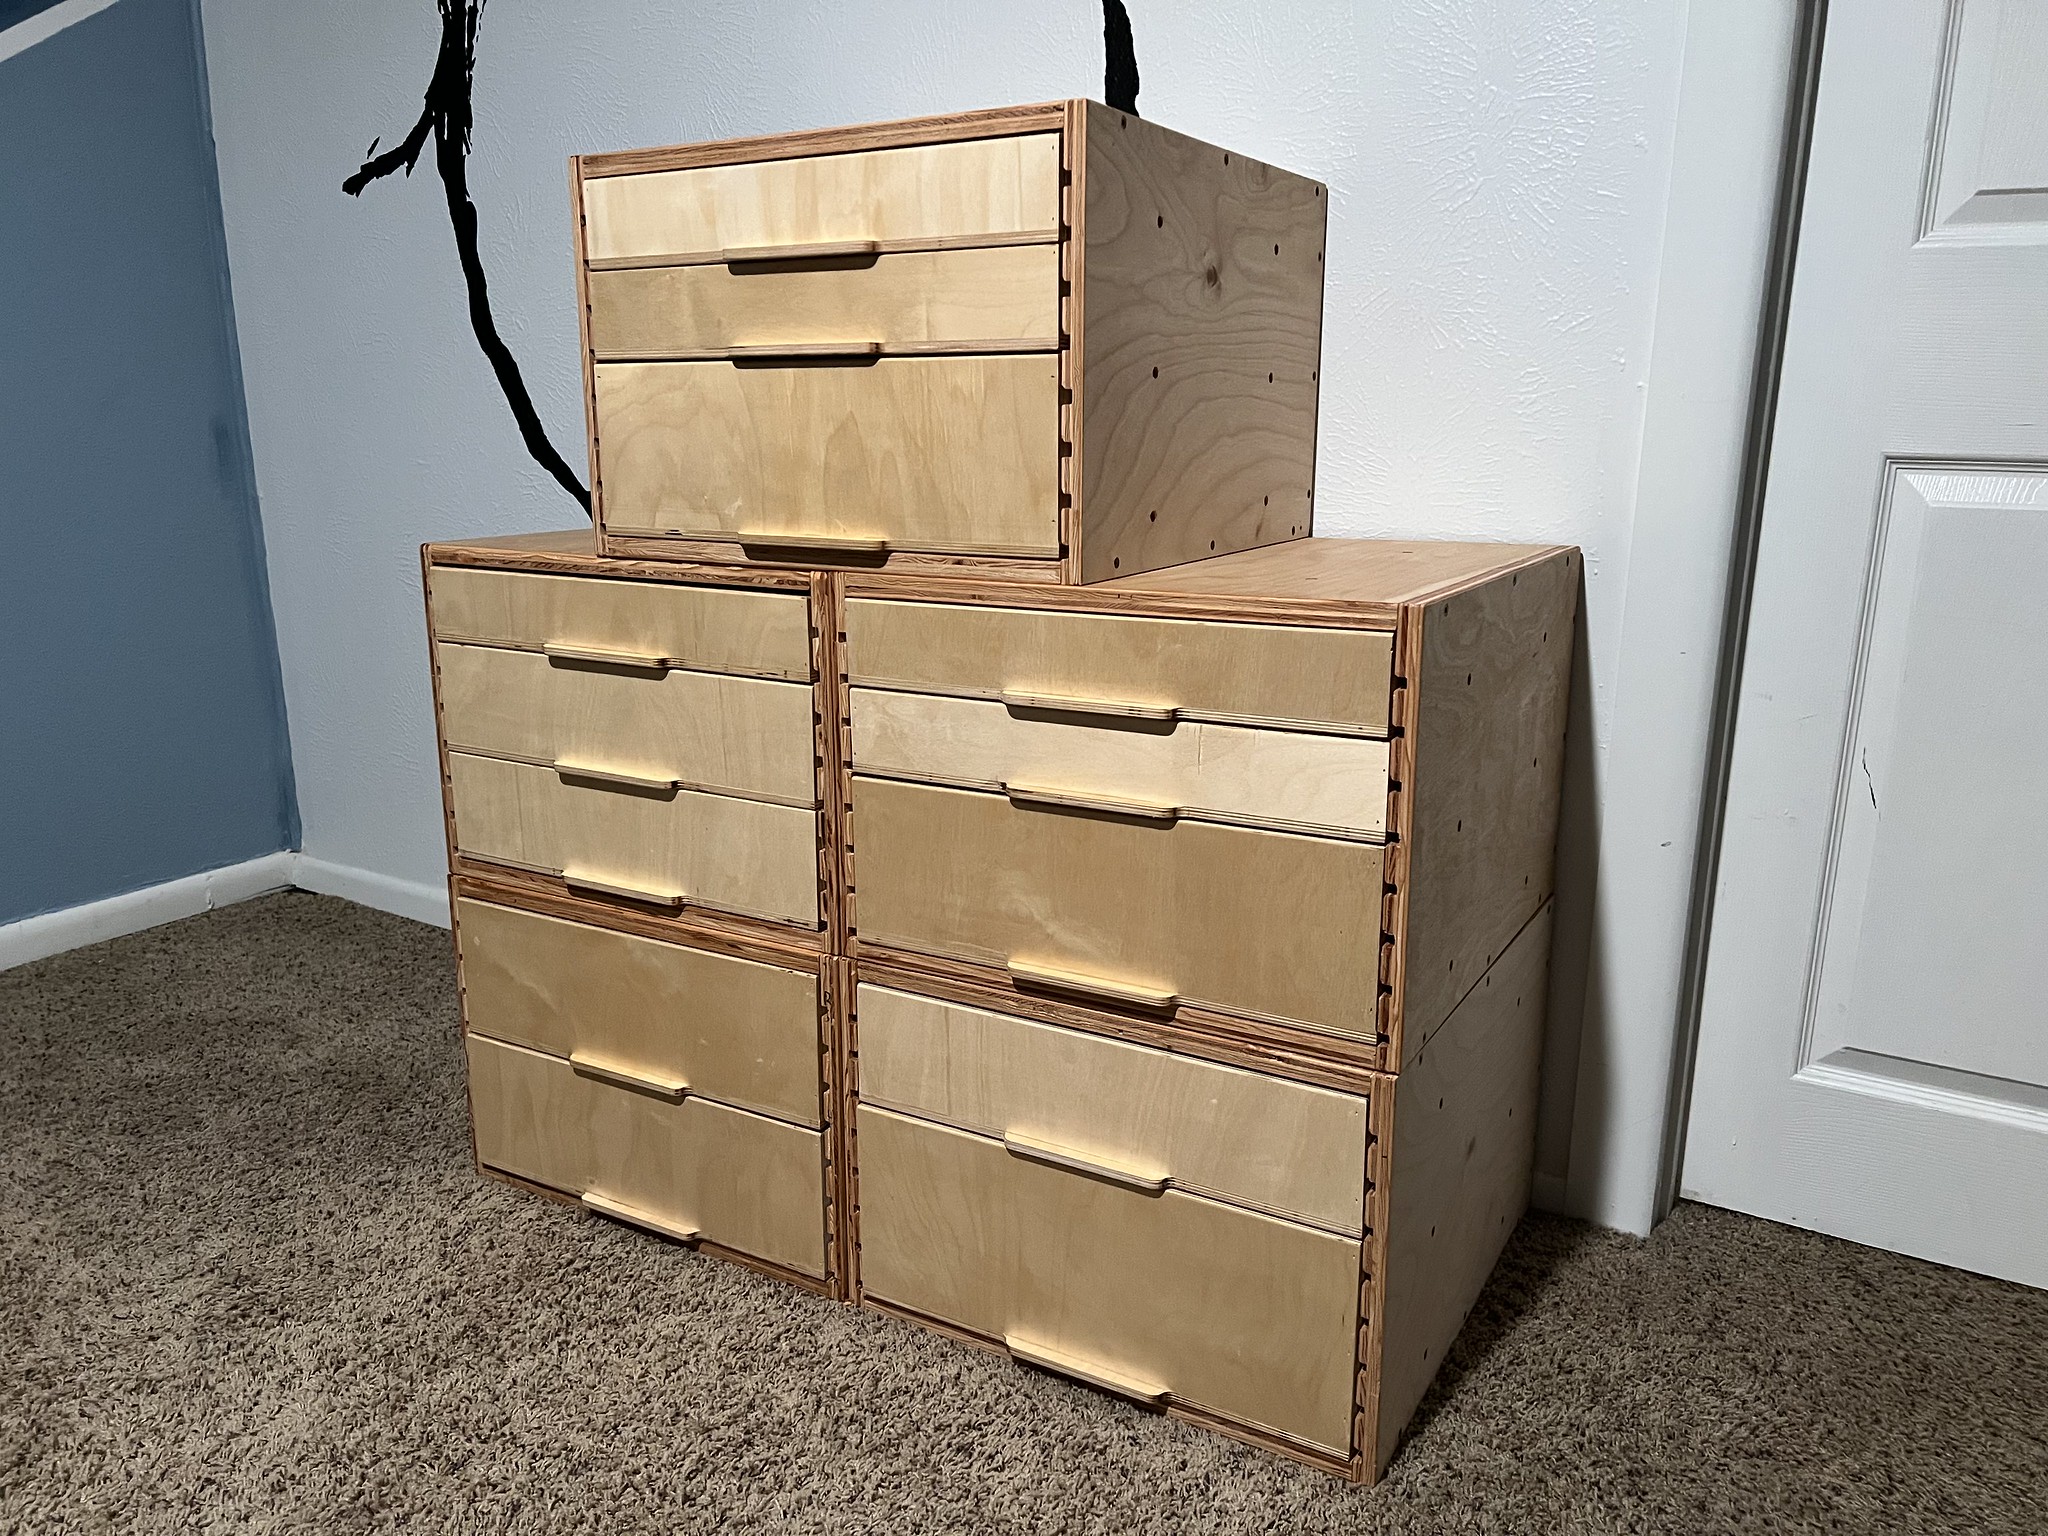
Quit your wingeing

Actually they came out great!